SELF HAVOC-II
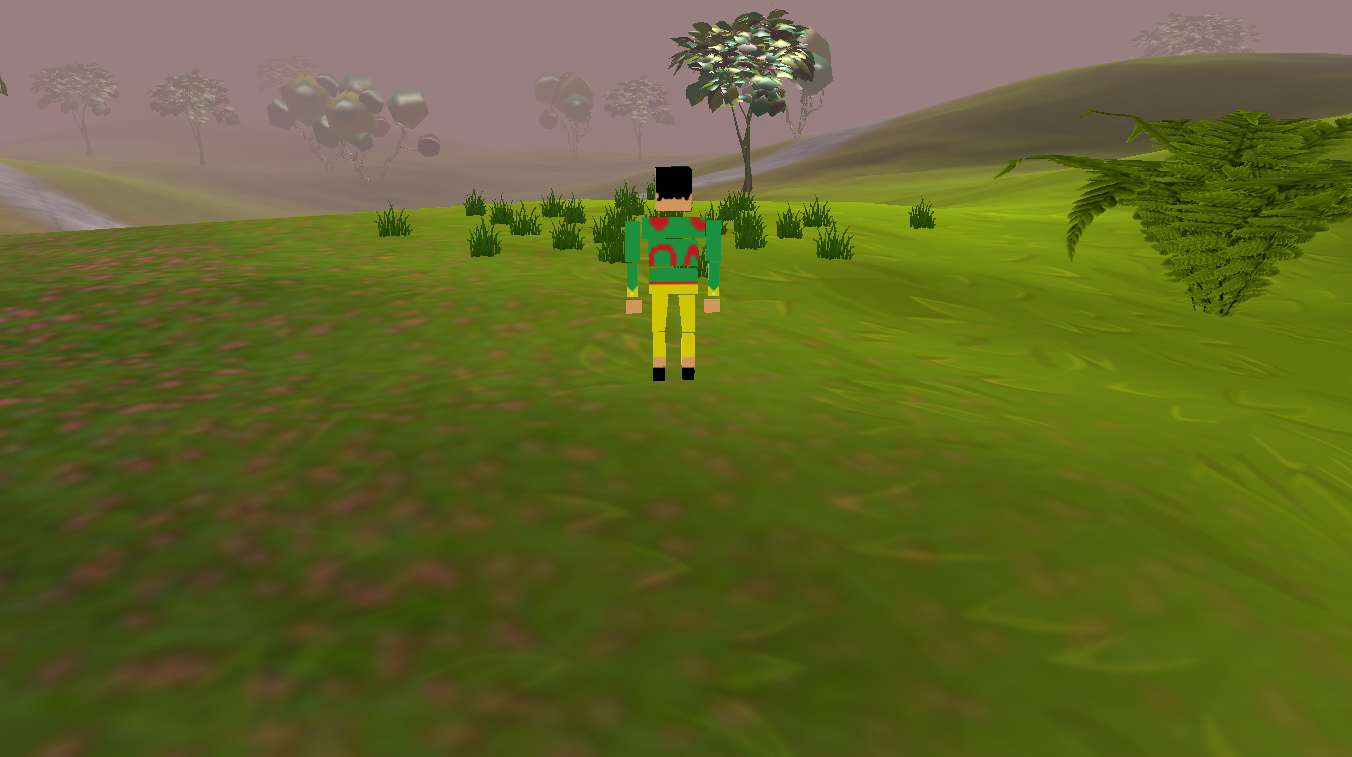
Gallery
Powered By


GALLERY


Connect with me


Made by Sky =)